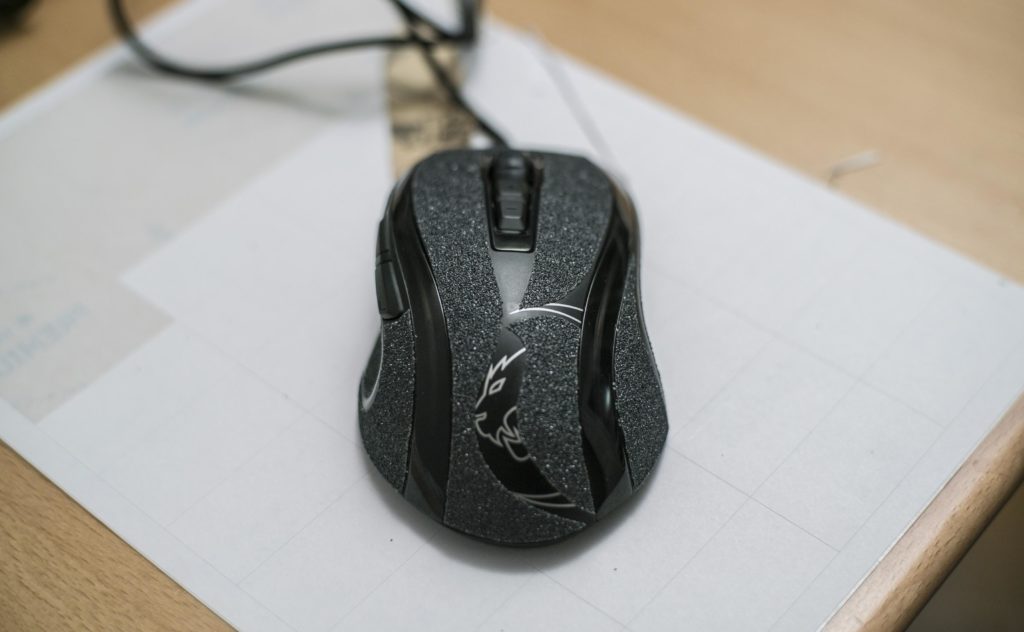
Roccat Kone EMP process of antgripping, part 1
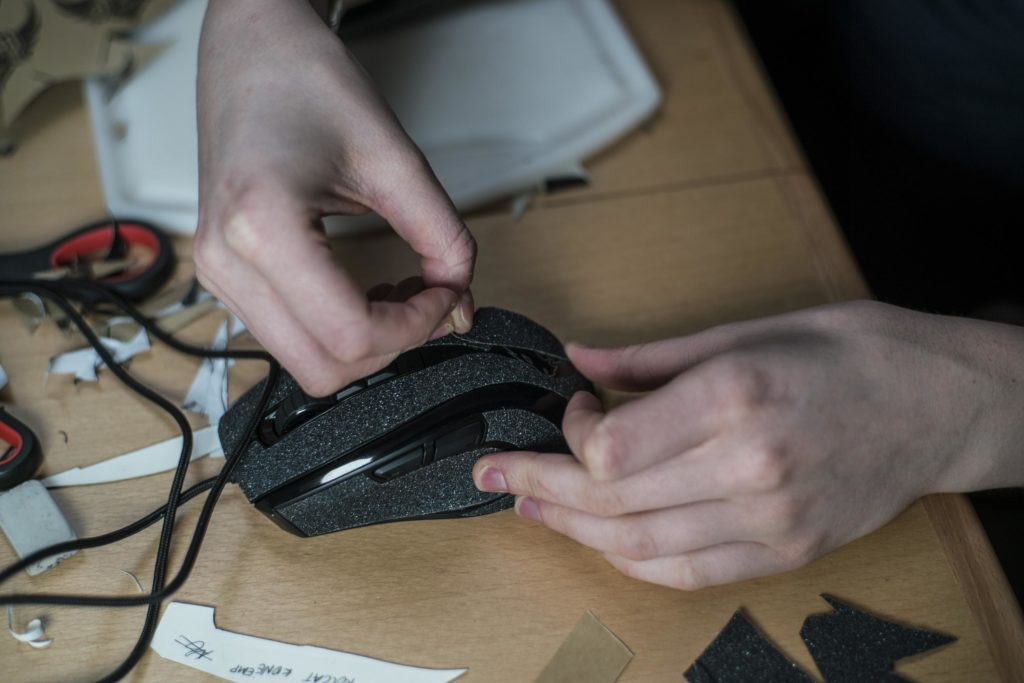
The process of a mouse getting the antgrip treatment involves quite a number of steps – starting with covering the product with matting paper on the surfaces we want covered with the grip. After that, we draw over the paper with our initial design for the antgrip cover. That is followed by the transfer of the paper to a more rigid material that is used as a stencil, which we use to cut out the antgrip itself.
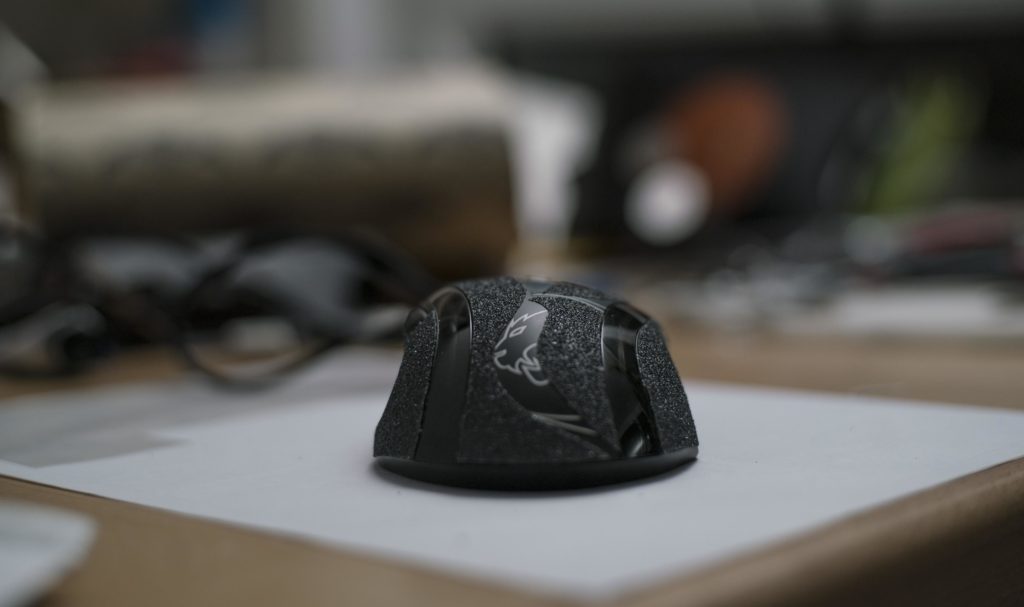
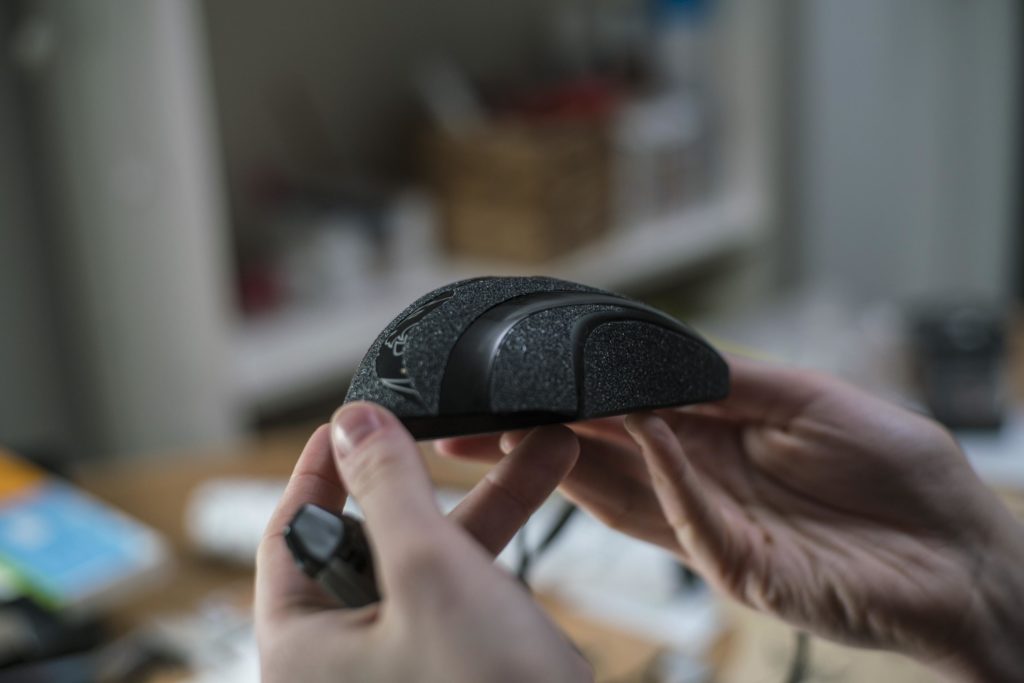
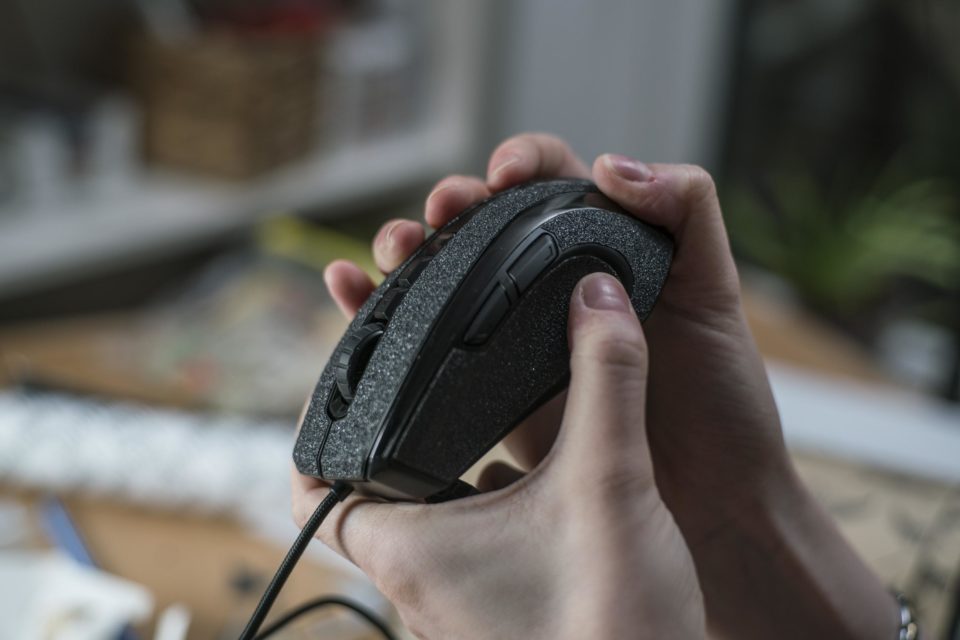
Usually, it takes two to three revisions to get the final shape for the side pieces and upwards of 6 revisions of the full cover grip, so that it has sufficient (you guessed it) grip for any of the three main mouse holding shapes, as well as it flows and complements the design of the product it is applied on.